Welcome to the 3rd and final part of the DIY Culottes tutorial! See Part 1 - Drafting the Pattern here, and Part 2 - Cutting here. In this post we get into the real meat of the project, sewing it all together! Lets get started!
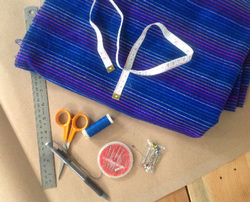
STEP 1) Gather Supplies
Today you will need:
-paper pattern pieces (for reference)
-fabric pieces
-scissors
-iron
-pins
-sewing machine
-needle
-thread
-button or other closure of your choice (see Step 10 for discussion)
-paper pattern pieces (for reference)
-fabric pieces
-scissors
-iron
-pins
-sewing machine
-needle
-thread
-button or other closure of your choice (see Step 10 for discussion)
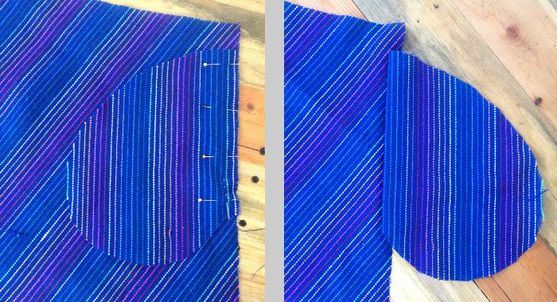
STEP 2) Attach Pockets
Align each pocket piece with each leg piece at the side seam. The pocket edges should overlap the pocket placement notches by ⅜" on each side (seam allowance). Pin in place, right sides together. Stitch in place ⅜" from edge. (From here on, all stitching will occur ⅜" from edge unless otherwise noted.) Clean finish the seam allowance edges from the bottom of the pocket to the waist with overlock or zigzag. No need to clean finish below the pocket, as you will be doing that later. After stitching, open the pocket away from the leg and press with your iron.